Quick Setup Tips Before You Start
Before diving into the fun stuff, a little prep goes a long way. Start by grabbing some basic supplies think cardboard, glue, scissors, paint, string, and anything leftover from around the house. No need for fancy kits; simple tools get the job done just fine.
Next, claim a space for the mess. It doesn’t need to be big just clear a tabletop, throw down some newspaper, or even head outside if the weather holds. The key is having room to spread out and make mistakes.
And finally: hand over the reins. Let the kids lead the project, even if that means crooked lines and wild colors. These activities aren’t about flawless results they’re about showing up, getting messy, and making memories that stick.
Painted Rock Pets
This one’s as easy as it gets hunt for smooth rocks in the yard or on a short walk, give them a wash, and lay out the paint supplies. Kids can turn their rocks into critters, monsters, or silly faced friends. The beauty here is in the open ended creativity and a simple way to show off color mixing in action.
Want purple? Mix red and blue. Something brighter? Add a dab of white. No need for fancy brushes; cotton swabs or worn out sponges do the job just fine.
Once they’re dry, line them up in the garden or plant pots. Better yet, leave one or two at a neighbor’s doorstep as surprise gifts. It’s art, it’s outdoor time, and it’s practice with both colors and kindness.
Cardboard Castle Building
Turn your recycling into a royal adventure with this imaginative and budget friendly project.
What You’ll Need
Large cardboard boxes (from recent deliveries work great)
Paper towel rolls (for towers or turrets)
Scissors, glue, and tape
Construction paper or scrap fabric (for banners and flags)
Markers, crayons, or paint for decorating
How to Build
Start by flattening and cutting cardboard to create castle walls and base
Use paper towel rolls as towers attach securely to the main structure
Cut triangular pieces or draw custom flags to mount at the top of towers
Let kids paint windows, doors, or even moats!
Why It Works
Encourages spatial awareness and imagination
Teaches patience and basic engineering skills
Sparks open ended pretend play
Let kids design their own kingdoms no plan is too wacky, and every castle is unique.
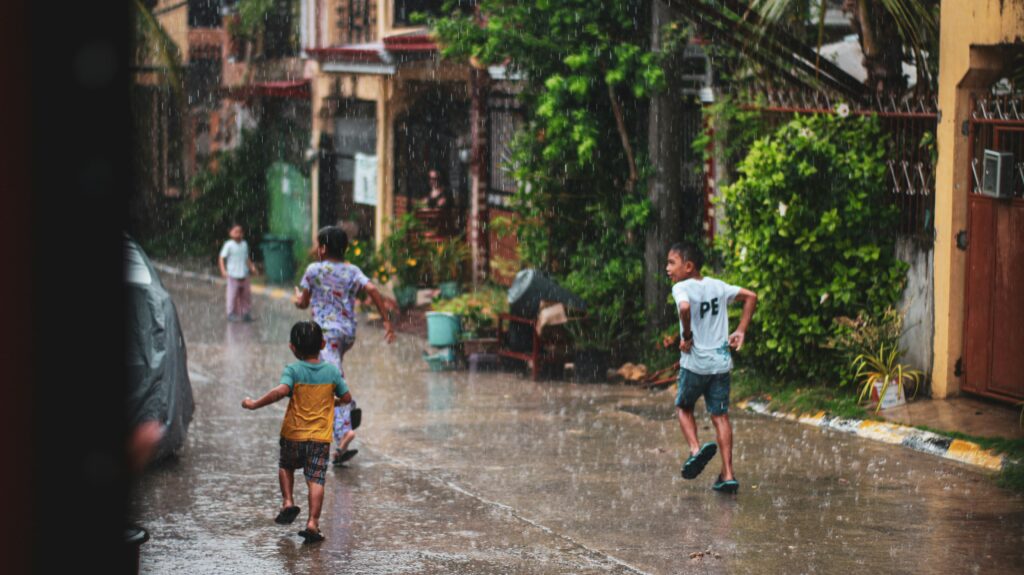
Nature Collage Walk
This one’s as low prep as it gets, and it delivers big on both movement and creativity. Head outside for a walk backyard, park, or neighborhood trail all work. Let the kids gather whatever catches their eye: dry leaves, pine needles, wildflowers, interesting twigs. Try to keep it seasonal. Fall colors? Great. Spring buds? Even better.
Once you’re back home, pull out a sheet of cardstock and some glue. There’s no right way to do it let the kids arrange their natural finds into patterns, scenes, or total freestyle chaos. It’s tactile, a little messy, and surprisingly calming.
This isn’t just craft time it’s built in sensory play and observation skills. They’re learning without even knowing it. Bonus: You just got fresh air and a screen break.
For more ways to step outside with purpose, check out these Outdoor Activities that Promote Bonding and Exercise.
DIY Slime Station
Slime is the crowd pleaser that never really left. Set up a simple slime station using household ingredients like glue, baking soda, and saline solution. Once the base is ready, let kids take control this is where the fun starts. They can customize their slime with glitter, a splash of food coloring, or a drop of essential oils (lavender is a hit). It’s part art, part science.
Besides being a sensory playground, making slime teaches the fundamentals of measurements and basic chemistry. Kids get hands on with mixing ratios and reactions what happens when you add a little too much activator? Let them find out.
And if you’re stressed about cleanup, don’t be. Vinegar and warm water work like a charm. Slime experiments stay fun, and your counters stay mostly slime free.
Homemade Wind Chimes
Grab a handful of old keys, bottle caps, random beads, and maybe a few fallen sticks from the backyard. That’s your toolkit for this simple, satisfying project. No fancy supplies, no hassle. Just thread your pieces onto string or twine short lengths work best and tie them to a sturdy stick or hanger. Hang the whole thing from a tree branch or porch hook and let the wind do its thing.
The result? A scratchy, musical blend of metal and wood that actually sounds cool (and not like a horror movie door creaking open). It looks good, too like a mini sculpture that changes with the weather. Bonus: it’s the kind of project that teaches kids how even the most random junk can become something beautiful and functional. Recycling never sounded better.
Sock Puppet Theater
Raid the sock drawer for any lonely, unmatched socks. With just a bit of glue or some basic stitches, kids can turn them into characters with eyes, hair, and wild personalities. Buttons, yarn, and scraps of felt go a long way here.
Once their cast is ready, set up a mini stage behind the couch works, or even a cardboard box with a curtain. Encourage each child to put on a quick 5 minute puppet show. They can reenact a story they know or make something up on the spot.
This one’s great for building confidence, encouraging storytelling, and helping kids practice speaking in front of others without it feeling like a chore.
Popsicle Stick Puzzles
Simple, creative, and great for all ages, popsicle stick puzzles are a perfect blend of art and problem solving.
What You’ll Need
Popsicle sticks (around 6 10 per puzzle)
Craft glue or tape (to hold sticks in place temporarily while decorating)
Markers, crayons, or printed images
Craft knife or scissors (optional, for trimming or customizing images)
Steps
- Line up popsicle sticks side by side.
- Use a bit of tape or painter’s tape to hold them together on the backside.
- Draw a picture across the sticks or glue down a printed image.
- Once dry, remove the tape and mix the sticks up.
- Have your kids solve their DIY puzzle by reordering the sticks to recreate the image.
Why It Works
Helps younger kids develop shape and pattern recognition
Doubles as a quiet time brain teaser or travel friendly activity
Easy to store and reuse just bundle each puzzle with a rubber band for next time
Extra Tip
Create themed puzzles based on seasons, stories, or family photos for a personal touch.
Bottle Cap Art Frames
Turn recycling into a fun and creative weekend project by transforming simple bottle caps into colorful, one of a kind art frames.
What You’ll Need:
Clean, colorful bottle caps (plastic or metal)
Strong glue or a glue gun (adult supervision recommended)
Cardboard or thick paper for the frame base
Favorite photos or drawings
Optional: paint, glitter, washi tape for extra flair
How to Do It:
- Create the Frame Base: Cut cardboard into a rectangle or custom shape with a center cut out for the photo.
- Design with Caps: Arrange bottle caps around the edges layer them for a 3D effect or create color patterns.
- Glue and Dry: Secure caps into place and allow time to dry fully.
- Add the Photo: Tape or glue a photo to the back of the frame so it shows through the center.
Why Kids Love It:
Bright colors and textures make it endlessly customizable
Offers a hands on way to use found objects
Displays their favorite memories or artwork in a personal way
Bonus Idea:
Encourage kids to make a frame for a gift perfect for birthdays, holidays, or even a “just because” surprise.
Bottle Cap Art Frames are more than just cute crafts they’re a chance to celebrate family photos while learning the value of repurposing and creative thinking.
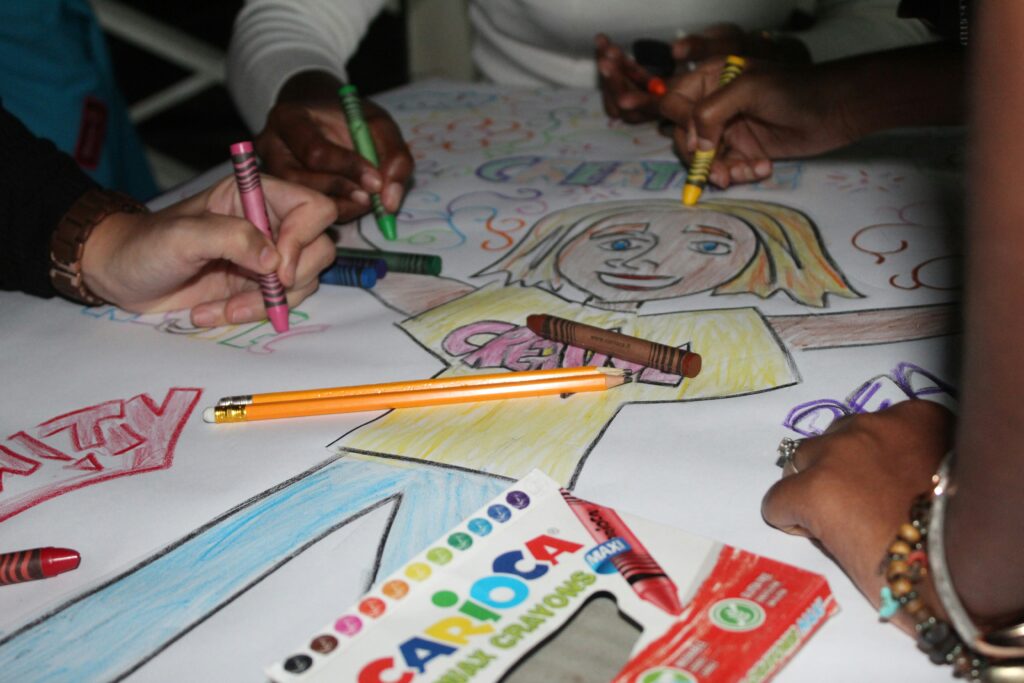
Fingerprint Family Tree
A Craft That Grows With Meaning
This project blends art, memory, and family in one special activity. With just a few tools and a little imagination, kids can help create a fingerprint family tree that becomes a keepsake for years to come.
What You’ll Need:
Large sheet of cardstock or sketch paper
Markers or pens to draw the tree
Non toxic ink pads or watercolor paints for fingerprints
Damp paper towels or wipes for cleanup
Step by Step Instructions:
- Draw the Tree: Begin by sketching a basic tree shape with branches no need for detailed realism. Let kids help or customize it to match your family’s style.
- Add the Leaves: Using ink or paint, each family member adds their fingerprint to the tree as a leaf. You can label them with names or keep it abstract.
- Decorate and Discuss: Kids can add dates, doodles, or small family stories beside fingerprints to make it more personal.
Why It’s Great:
Visualizes family heritage in a tangible way
Encourages identity and storytelling
Doubles as a meaningful piece of family decor
You’ll come away with more than a cute art project it becomes a warm reminder of who you are, together.
Rainy Day Recyclables Robot
Grab some aluminum cans, cardboard tubes, old buttons, and whatever else is kicking around your recycling bin it’s build time. Designing a robot from scraps is a project that hits all the right notes: problem solving, imagination, and straight up fun. There’s no right or wrong here. A cereal box can become a torso. Paperclips? Antennae. Bend a few rules, let the kids lead, and see what rolls out on the kitchen table.
This kind of hands on build isn’t just about crafting a “thing” it sharpens spatial thinking and creativity in a way that feels more like play than learning. Best part: everything you need is probably already in the house.
Pro Tip: Keep a “craft box” stocked every weekend can be project ready with zero stress.
 Norvain Xelvaris writes the kind of health and wellness for moms content that people actually send to each other. Not because it's flashy or controversial, but because it's the sort of thing where you read it and immediately think of three people who need to see it. Norvain has a talent for identifying the questions that a lot of people have but haven't quite figured out how to articulate yet — and then answering them properly.
They covers a lot of ground: Health and Wellness for Moms, Family Activities and Projects, Educational Resources for Kids, and plenty of adjacent territory that doesn't always get treated with the same seriousness. The consistency across all of it is a certain kind of respect for the reader. Norvain doesn't assume people are stupid, and they doesn't assume they know everything either. They writes for someone who is genuinely trying to figure something out — because that's usually who's actually reading. That assumption shapes everything from how they structures an explanation to how much background they includes before getting to the point.
Beyond the practical stuff, there's something in Norvain's writing that reflects a real investment in the subject — not performed enthusiasm, but the kind of sustained interest that produces insight over time. They has been paying attention to health and wellness for moms long enough that they notices things a more casual observer would miss. That depth shows up in the work in ways that are hard to fake.
Norvain Xelvaris writes the kind of health and wellness for moms content that people actually send to each other. Not because it's flashy or controversial, but because it's the sort of thing where you read it and immediately think of three people who need to see it. Norvain has a talent for identifying the questions that a lot of people have but haven't quite figured out how to articulate yet — and then answering them properly.
They covers a lot of ground: Health and Wellness for Moms, Family Activities and Projects, Educational Resources for Kids, and plenty of adjacent territory that doesn't always get treated with the same seriousness. The consistency across all of it is a certain kind of respect for the reader. Norvain doesn't assume people are stupid, and they doesn't assume they know everything either. They writes for someone who is genuinely trying to figure something out — because that's usually who's actually reading. That assumption shapes everything from how they structures an explanation to how much background they includes before getting to the point.
Beyond the practical stuff, there's something in Norvain's writing that reflects a real investment in the subject — not performed enthusiasm, but the kind of sustained interest that produces insight over time. They has been paying attention to health and wellness for moms long enough that they notices things a more casual observer would miss. That depth shows up in the work in ways that are hard to fake.