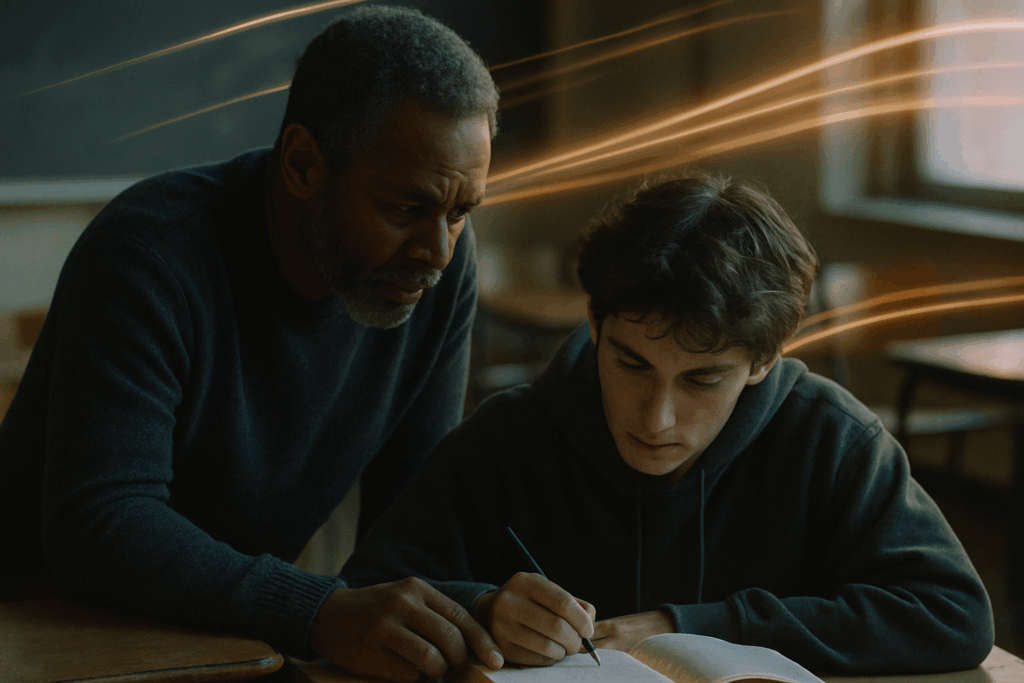
Why Science at Home Works
You don’t need a lab coat or a degree to make science click with kids. What you do need is curiosity, a little space to experiment, and the willingness to get your hands dirty. Home based science works because it keeps things simple and immediate. Kids aren’t just reading about concepts they’re pouring, mixing, testing, and asking questions in real time.
These quick hit activities tap into something deeper than rote learning. They’re problem solving workouts in disguise. Toss in a bit of mess and surprise, and suddenly you’ve got an eager learner who wants to know not just what happened but why. And the best part? No laptops required. These experiments pull kids away from screens and into the real world, using common materials from your kitchen drawer or recycling bin.
In the end, it’s not about perfect results it’s about discovery. Keep it loose, keep it fun, and let their questions lead the way.
Safe, Simple, and Smart: What to Know Before You Start
Before diving into experiments, set the stage for a fun and worry free experience. Science at home can be engaging and educational as long as basic safety and setup are in place.
What Requires Adult Supervision?
Most experiments on this list are child friendly, but a guiding hand helps ensure safety and understanding.
Adult supervision is required when:
Using household chemicals like vinegar or baking soda
Handling strong magnets or small parts that could pose a choking hazard
Conducting any experiment near sinks, outlets, or fragile items
Adult presence is optional (but helpful) when:
Mixing colors or pouring water
Setting up or cleaning up simple materials
Recording results or making predictions
Safety Gear and Cleanup Tips
Staying safe doesn’t mean buying expensive lab coats. A few simple items can keep things clean and stress free.
Recommended safety gear:
Old clothes or aprons to protect from spills and stains
Eye protection for splash prone experiments
A sink or damp cloth nearby for quick cleanups
Cleanup is smoother when you:
Pre set a workspace with newspaper or a plastic mat
Keep paper towels and a trash bag on hand
Tell kids ahead of time who’s helping clean and when
Turning “Oops” into Opportunity
Every mistake is a mini science lesson. When things don’t go as planned, resist the urge to redo or fix everything immediately. Instead:
Try asking:
“What do you think went wrong?”
“Did we miss a step or try something new?”
“How could we change it for next time?”
Helping kids reframe mistakes as discoveries builds confidence and curiosity and that’s the heart of real science.
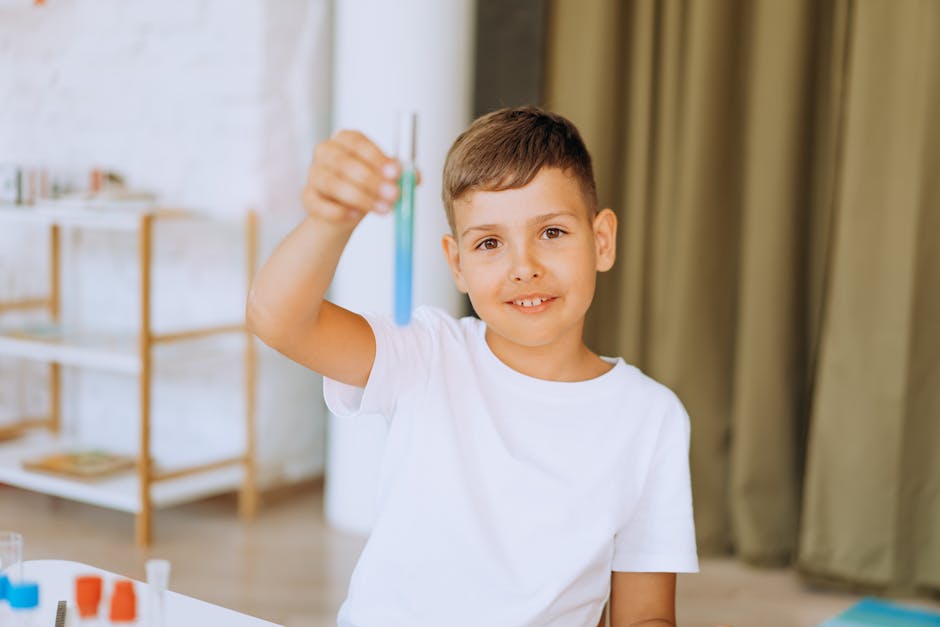
Experiment 1: DIY Volcano Eruption
This one’s a classic for a reason big reactions, easy setup, and lots of banging and fizzing. All you need is baking soda, vinegar, dish soap, and a few drops of food coloring. Pile the baking soda into a volcano shape (a cup works fine if you’re low on time), mix in dish soap and coloring, then pour in the vinegar.
What you’re seeing: a basic acid base reaction. The vinegar (acid) hits the baking soda (base), and carbon dioxide gas is released. That gas tries to escape and pushes the liquid up and out, forming that classic eruption.
Bonus learning moment: ask your kid what variable they can tweak next time. More vinegar? Less soap? Different vinegar temperature? This gives them a built in experiment loop and a reason to keep learning.
Experiment 2: Walking Water Rainbow
This one’s simple, colorful, and gets kids saying “whoa” every time. You’ll need six clear cups, paper towels, water, and food coloring. Line the cups up in a row. Fill every other cup (1st, 3rd, 5th) halfway with water and tint them with red, yellow, and blue food coloring. Now fold paper towels into thick strips and place one end in a cup with water and the other in an empty one next to it.
What happens? The colored water “walks” up and over the paper towels into the empty cups. This is capillary action at work the same principle that helps plants draw water up through their roots. As the colors meet in the empty cups, they start to mix: red and yellow become orange, yellow and blue turn green, and so on.
Have your kid guess the final result before it fully forms. Prediction is part of the fun and sneaks in a little critical thinking without it feeling like homework.
Experiment 3: Make Your Own Slime
This one’s a classic and for good reason. To get started, you just need white school glue, baking soda, and contact lens solution. That’s it. Mix about half a cup of glue with a tablespoon of baking soda, stir until smooth, then slowly add contact solution a few drops at a time until the slime pulls away from the bowl and stretches without sticking to your fingers. Easy, fast, and wildly satisfying.
Here’s the cool part the science. When the ingredients combine, they trigger a chemical reaction that forms a flexible polymer. Think of it as tiny chains of molecules getting tangled up just enough to turn your liquid mix into a squishy solid. It’s messy chemistry in its friendliest form.
Now for the fun twist: customization. Add food coloring, glitter, or even soft beads to tweak texture and look. Want slime that crunches, glows, or smells like bubblegum? Go for it. Let your kid experiment with small batches and test what happens when you adjust the mix. There’s no wrong way to get creative here just teach them to write it down like real scientists.
Experiment 4: Balloon Powered Race Car
This one’s a hit for hands on learners and future engineers. You’ll be building a simple car that runs on the power of expanding air. As the balloon deflates, it pushes air backward creating thrust that moves the car forward. It’s motion in action, and a great way to understand Newton’s Third Law without needing a physics degree.
What You’ll Need:
1 balloon (round or long test which works better!)
Straws (1 thick for balloon nozzle, 2 thin for axles)
Tape (masking or clear whatever holds)
Light cardboard or foam board (for the car body)
LEGO or plastic bottle caps (for wheels)
Building Instructions:
- Cut your car body, roughly the size of your hand.
- Tape thin straws under the body these are axles for the wheels.
- Push the wheels onto the straw ends.
- Insert a thicker straw into the balloon neck and tape them together tightly.
- Tape that straw along the top of your car, with balloon facing backwards.
- Blow up the balloon through the straw, pinch it, set it down, and let it rip.
Engineering Twist:
Try tweaking the build. Make the base narrower to reduce drag. Use smoother wheels to cut friction. Adjust the straw angle to direct thrust better. Want more speed? Try different balloon sizes and car weights. Straighten the axles carefully for smoother rides. Encourage kids to build, test, tweak, and test again. That’s how engineers learn and how fun stays in motion.
Experiment 5: Magnetic Scavenger Hunt
This one’s simple, surprising, and gets kids thinking like real scientists. Grab a basic magnet nothing fancy and a bunch of small household items. Think paper clips, coins, cereal box tabs, plastic buttons, screws, aluminum foil, even bits of crayon. Lay them all out on a table.
Before testing anything, have kids guess: which ones will the magnet attract? Write it down or talk it out. Then start testing. Try touching the magnet directly to each item, or move it slowly underneath a piece of paper to see what moves.
As they discover what sticks and what doesn’t, ask: do you notice any patterns? Why doesn’t the magnet pull the aluminum foil, but it grabs the screw? Don’t rush to explain let them puzzle it out. This builds curiosity and flexible thinking without needing a textbook. Ideal for rainy afternoons or curious moments between snack breaks.
Beyond the Kitchen Table
The science doesn’t end when the experiment does and that’s where things start to stick. Journaling results is a simple but powerful habit. When kids write or draw what they saw, they’re sharpening observation skills and learning how to document findings like real scientists. Bonus: it helps reinforce the vocabulary and concepts behind each activity.
Dig deeper by asking “why” after each step. Why did the slime get thicker? Why did the balloon car veer left? These open ended questions spark curiosity and push kids to think past surface outcomes. You don’t need a lab coat to ask good questions just a little patience and an interest in what unfolds.
Tie it all together by connecting these experiments to what they’re already learning in school or reading for fun. A volcano eruption hits differently when they’ve just covered Earth science or read about Mt. Vesuvius in a story. The goal is to build bridges: from the kitchen table to the classroom, and from STEM to storytelling. That’s how curiosity becomes a habit.
Bonus Curiosity Booster
If you want your science experiments to stick, fold in a little storytelling. When kids think about what their favorite book characters would do Harry Potter with a balloon car or Anne Shirley watching a slime ooze over her desk it shifts science from a list of steps to a world of wonder. It’s a simple trick: ask, “What would your favorite character do in this experiment?” and see how their imagination lights up.
Story driven science doesn’t just make activities fun it helps kids connect abstract ideas to personalities and bigger narratives. It blends creativity with problem solving in a way that feels natural. When kids frame questions, make predictions, or even name their volcanoes, they’re engaging both sides of the brain. That’s the real win: curiosity that keeps moving, long after the baking soda settles.
 Corey Valloconeza has opinions about educational resources for kids. Informed ones, backed by real experience — but opinions nonetheless, and they doesn't try to disguise them as neutral observation. They thinks a lot of what gets written about Educational Resources for Kids, Support and Community Resources, Parenting Tips and Advice is either too cautious to be useful or too confident to be credible, and they's work tends to sit deliberately in the space between those two failure modes.
Reading Corey's pieces, you get the sense of someone who has thought about this stuff seriously and arrived at actual conclusions — not just collected a range of perspectives and declined to pick one. That can be uncomfortable when they lands on something you disagree with. It's also why the writing is worth engaging with. Corey isn't interested in telling people what they want to hear. They is interested in telling them what they actually thinks, with enough reasoning behind it that you can push back if you want to. That kind of intellectual honesty is rarer than it should be.
What Corey is best at is the moment when a familiar topic reveals something unexpected — when the conventional wisdom turns out to be slightly off, or when a small shift in framing changes everything. They finds those moments consistently, which is why they's work tends to generate real discussion rather than just passive agreement.
Corey Valloconeza has opinions about educational resources for kids. Informed ones, backed by real experience — but opinions nonetheless, and they doesn't try to disguise them as neutral observation. They thinks a lot of what gets written about Educational Resources for Kids, Support and Community Resources, Parenting Tips and Advice is either too cautious to be useful or too confident to be credible, and they's work tends to sit deliberately in the space between those two failure modes.
Reading Corey's pieces, you get the sense of someone who has thought about this stuff seriously and arrived at actual conclusions — not just collected a range of perspectives and declined to pick one. That can be uncomfortable when they lands on something you disagree with. It's also why the writing is worth engaging with. Corey isn't interested in telling people what they want to hear. They is interested in telling them what they actually thinks, with enough reasoning behind it that you can push back if you want to. That kind of intellectual honesty is rarer than it should be.
What Corey is best at is the moment when a familiar topic reveals something unexpected — when the conventional wisdom turns out to be slightly off, or when a small shift in framing changes everything. They finds those moments consistently, which is why they's work tends to generate real discussion rather than just passive agreement.